Editing: creating a project
Creating a project is the first action you will have to do after installing the program. It is quite intuitive but there are some useful tips for you to know about this part:
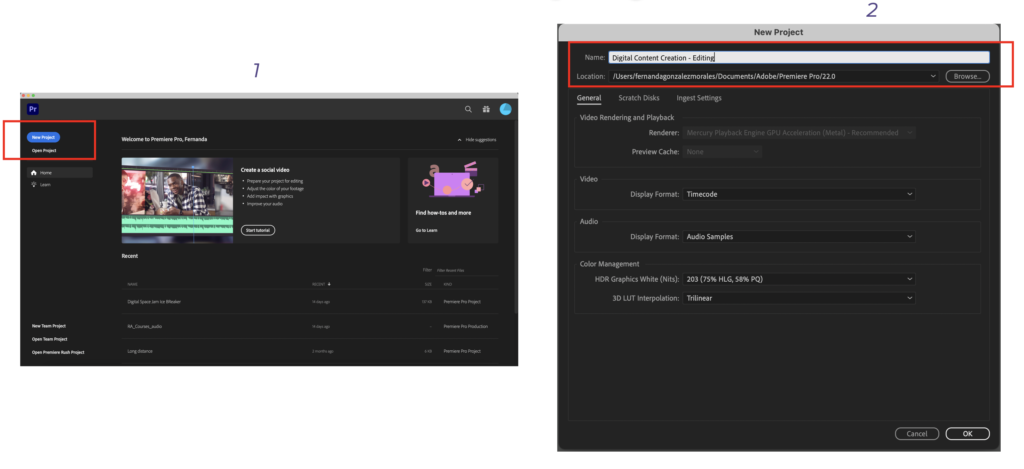
- Click on “New Project”
- Name your project in the first section
- Click on “browse” to choose the location of your project file. The automatic setting will create a folder within the Adobe folder on your computer, but if you prefer, you can decide on another space. In any case, it is useful to click on browse just so you know exactly where the file is located.
You might notice that on the first window you can choose between creating a new project and starting a new production. Let’s go over some of the differences between each.
- A project is a single unit of content, it will be stored as one project file and although you can export different videos out of it by having different sequences, we recommend that you keep one project for one content video. For example, a project can be: “Decolonizing data: a conference”, inside this project you can edit the entire conference, then also have a short version for social media and a super short trailer for other platforms. The content is the same but the length of the videos is different.
- A production is a larger folder that contains several projects embedded. This is useful when creating a series of videos that might have the same editing preferences (titles, fonts, color correction, sounds, etc). It also helps keep the creation organized and easy to access later. Following the same example as before, the production of that project might be called: “Conferences about data” and inside you can have different conferences.
Pro tip!
Please consider the memory/capacity of your computer when creating a video, it might be a good idea to work with all the materials (and the project files) from an external hard drive. If so you might have to change the location of the project at the beginning.